


The main difficulty in decorating the lamp is how to support the decorative elements we want on it.

Here I will show you a way that I really like, without pins which I systematically avoid for items that end up in children's hands.
So we start by gathering the basic materials:
The candle in the color and size of our liking. In this case I used a Greek scented candle 42 cm. A central element in the decoration will be a double sponge in the shape of a heart.
I also need two pieces of one meter, satin cord (rat tail) in two different colors.
Tip
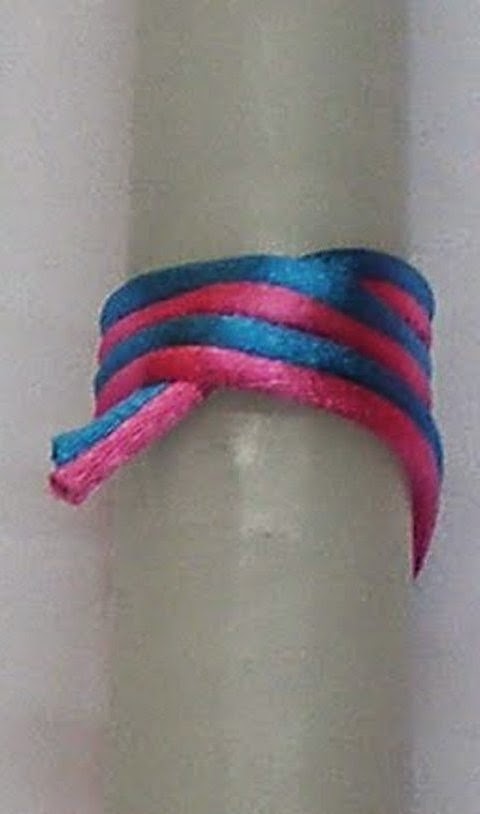
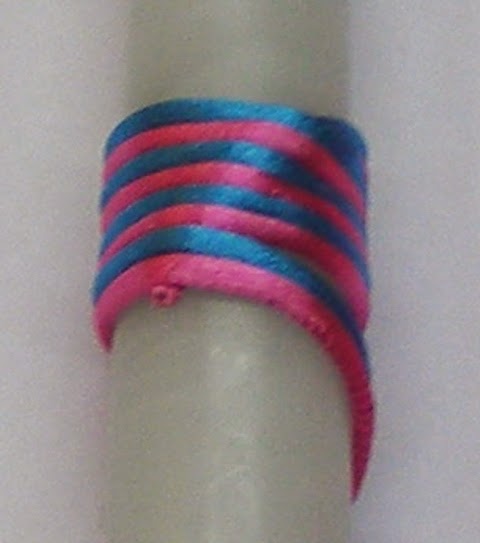
Now that the cord is set, support, at the desired height and in the desired way my little sponge. I twist the string around the candle over and over, give shape, I decorate and at the same time support the elements I want on the candle.

This is the back view of our lamp. Temporarily support the end of the cord with scotch tape.

We don't forget to take care of the ends of the ribbon, either with serrated scissors or common scissors. it's a shame to make beautiful and impressive bows and leave the edges unkempt: goofs have a way of attracting attention!!
And now it's time to use some glue. I prefer silicone hot glue (the one with the hairdryer) because it dries quickly and is quite economical. Nevertheless, any glue you are comfortable with can be used, as long as there is time for it to dry…
So we put, at the end of the laces (where before we temporarily supported with scotch tape) a drop of glue and glue the edge. In this way we glue cord to cord.
Do not try to stick to the wax with simple glues or silicone. Even if it lasts for a while, soon, once the candle sweats a little, everything will work out…
Now to hide the glue point, we add, again with glue, a small ornament e.g. a bow, a bead, a flower or anything else we want.
My little sponge, as I told you, it is double, that is, the inner part of the heart is easily removed and repositioned.
So I removed it, and with a little glue I added: plastic eyes that wiggle, eyebrows that I did with pipe wire, a bead of apple cider for blueberry, a mouth bow and an acrylic pacifier bead.
After I finished with the face, I put her back in her place.
And to give a little “type” on my face, I added to her (again with glue) a straw hat, to which I stuck a wooden ladybug, the magical insect of Lampris!!