The care process and professional secrets, of manicure step by step!! When you leave a manicure studio having your nails done your hands feel beautiful, clean and tidy!! You always wonder what they are doing….
and your manicure, it lasts so many days unlike you that when you make them at home, your mano peels off after 1-2 days.

So learn all the secrets in the grooming process and succeed
by yourself a professional manicure at home for you and your girlfriends
your.
Nothing is impossible as long as you follow them step by step
below.
below.

- Clean towel
small bowl
Special file for natural nails (not metallic) and relatively thin
Cuticle remover (remover of wishes) or olive oil
Pensaki (peeler)
Pusher or manicure sticks (pushers are special manicure tools
like long, narrow spoons that have the shape and curve of a fingernail
so that they can hug it and push the cuticles towards it
base of the nail)
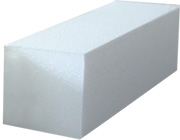
Buffer. With this we exfoliate or whiten the nails and remove any yellow spots
Polishing file. Special file that polishes the nails amazingly
Acetone without oil
Cotton
Moisturizing cream and peeling
Base coat (base), top coat (overlap) and your favorite mano
The professional care process
- Lay the clean towel where you will work. Wash your hands
or disinfect them with a special spray (special for the skin, not for
tools because it is more powerful). If you're giving your girlfriend a manicure, wear it
disposable protective gloves.
- Wash your nails with acetone if there is polish
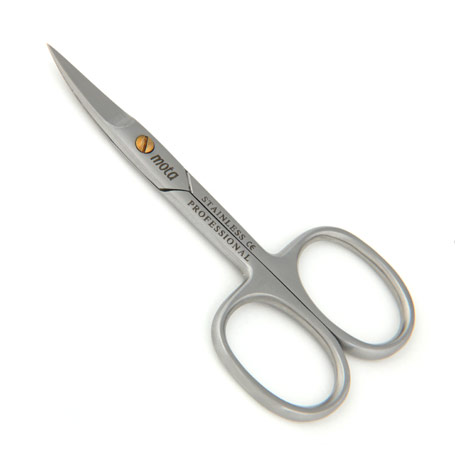
- If your nails are too long and you want them fairly short, first cut with a pair of scissors just before the desired length.
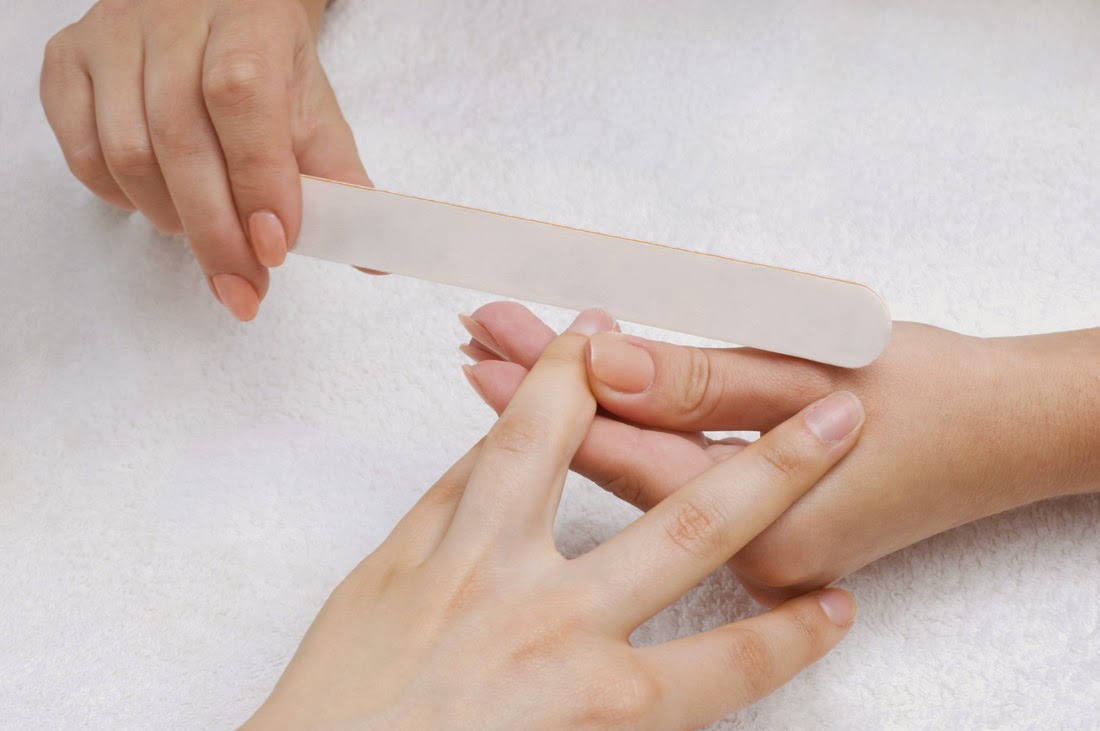
- Shape your nails with the special file for natural nails. If the
your nails are very hard you can do this step after
soaking in water to soften.
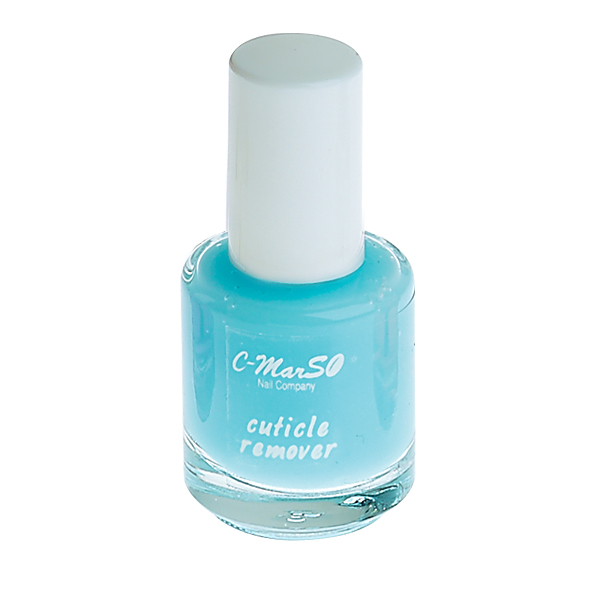
- Apply nail polish remover around the nails (cuticle remover) or
olive oil without spreading it. Let about half a minute pass and
place your hand in the bowl where you have put warm water at once
drop of hand soap or SPA salts. You leave it approx 2-3 minutes to
to soften the cuticles.

- Getting out of the water, wipe with the towel and then
you push the cuticles with the special tool – pusher – towards its base
nail carefully so as not to injure the nail. Το pusher, They are
hard tool for non-professionals, but very effective. If the
you use instead of a stick remember that no pressure is needed (equal
just touching) and that the “spoon” It should touch well with it
nail.
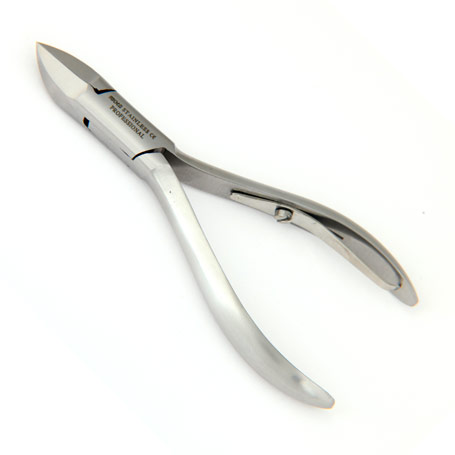
- With the special tweezers (peeler) you only cut off what is left over.
Make sure your brush is professional because otherwise you won't do
work and you will be disappointed. When I say professional I do NOT mean expensive 40-50 €,
just buy it from special shops that only have professional ones
cutting and non-cutting tools for hairdressers and manicurists. That's usually it
it is also an orbit. You can find a good pen with 15-20 €.
- Use it
the Buffer in case the nails show yellowness or they are not
αρκετά λευκά. Buffer does not need to be pressed or passed multiple times
because it will thin the nail. Think of it as a soft file.
- Immediately after, use a professional polish (το τονίζω)
file that gives a fantastic result. These professional files
έχουν 2 όψεις, one colored and one white or smoother side. First we pass
the nails with the colored side and finally with the smoother side. Here you can
apply light pressure so that the file goes through all its parts
nail. There are generally many polishes on the market and combined with
the buffer.
- Optionally, you put a regenerative oil around the nails and
do a light massage to soothe the pubic area.
- At this stage you can do peeling and mask or just cream
hands with a little massage. Peeling can be made with sugar and honey
it is very moisturizing for the skin.
- Wipe your nails thoroughly with oil-free acetone.
- Put a therapeutic base, your favorite polish 2 times and Top coat
for enemy gloss. Prefer base (Base coat) with nourishing vitamins
the nail and protects it and not just a transparent mano. Your mano to
it is a relatively good brand and fits your nails. The good one
brand doesn't necessarily mean expensive and when I say fit yours
you nails I mean you have tried it, to lay on you and stay.

- Finally, the top coat must be very good, to provide a hostile sheen
and dries quickly. To stabilize and seal it
mano it should be good in all the area you have passed it
mano and a little outside of it. You also seal it with a horizontal movement
and above the nail, on the edge of it.
I'm sure you are now very happy with the result!!
Read the following tips so you don't miss anything!!
Professional secrets
We always shape the nails before putting them in the water because they will
soften too much and they will break.
We always shape the nails before putting them in the water because they will
soften too much and they will break.
The cases we file after the
soaking is when the nails are hard enough.
soaking is when the nails are hard enough.
The correct filing on natural nails is done from the corner of the nail towards
its center.
Try to avoid filing on the sides because
thus the nail breaks more easily. If necessary try to
achieve the ideal shape with few and gentle movements.
thus the nail breaks more easily. If necessary try to
achieve the ideal shape with few and gentle movements.

There are 5 types of nail shape:
Round
Square
Square with rounded edges
Round to pointed
Pointed
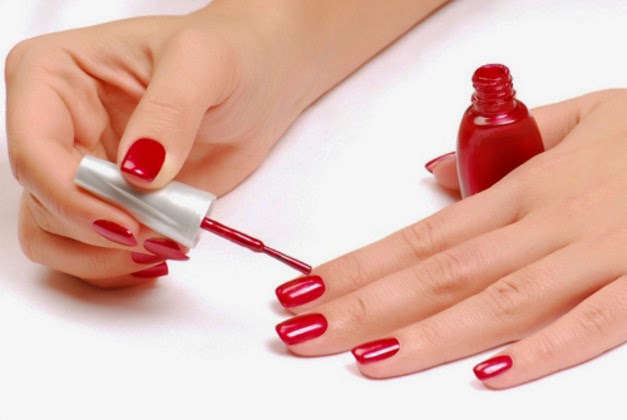
The most correct way to paint a nail with varnish
It's done with 3-4 movements.
Dip the brush well into the varnish and
slightly drain one side of the 'neck' from its bottle
varnish.
slightly drain one side of the 'neck' from its bottle
varnish.
Then we place our brush, from the side that has the most
varnish ready to drip, in the center of the nail near the base.
We push towards the base so that the brush and the mano can reach 1-2
millimeters away from cuticles, and then we bring a line
towards the free end.
millimeters away from cuticles, and then we bring a line
towards the free end.
Without dipping the brush into the varnish again (unless it is dry
completely) we cover, from the base to the free end, the right and
left side of the nail and we always try to be 1-2 millimeters
away from cuticles.
It may be necessary with one more move to
go through the first point again so that it does not “waters” the mano.
go through the first point again so that it does not “waters” the mano.
Remember that the smaller the amount of mano, the longer it will last!!

Dry manicure (waterless manicure)
It's the manicure without water. We normally follow all the steps of the manicure and skip putting our hands in the water!!
I.e. When
insert the remover, we leave it a little longer and
we start pushing the cuticles with the special pusher, continuing
then normally the steps that follow in the liquid manicure.
insert the remover, we leave it a little longer and
we start pushing the cuticles with the special pusher, continuing
then normally the steps that follow in the liquid manicure.
Manicure with oil or special lotion
In this case, the steps remain the same as with the liquid manicure
except that the hands do not need nail polish remover and also no
they go into water but into hot oil.
In this case, the steps remain the same as with the liquid manicure
except that the hands do not need nail polish remover and also no
they go into water but into hot oil.